

Augmented Reality (AR) technology has come far from being a magical idea in fiction movies to a real-life concept and a reality. Years have passed and it is now much more powerful, reliable, and safer to use. Businesses are leveraging multiple top AR tools in the market to create next-gen solutions and platforms, and if they can do it, you can too!
However, navigating the ever-so competitive landscape and finding the right partner to chase your goals with can seem daunting. We have prepared this blog to ensure that it doesn’t block your path. We will discuss ways to choose the right AR development company for your brand’s needs and achieve desirable results. In order to do that, it is best to start from the basics before getting on the road to find partners for AR app development services. This is why we will start by discussing the latest and best tools for AR development solutions.
Understanding AR Development Tools
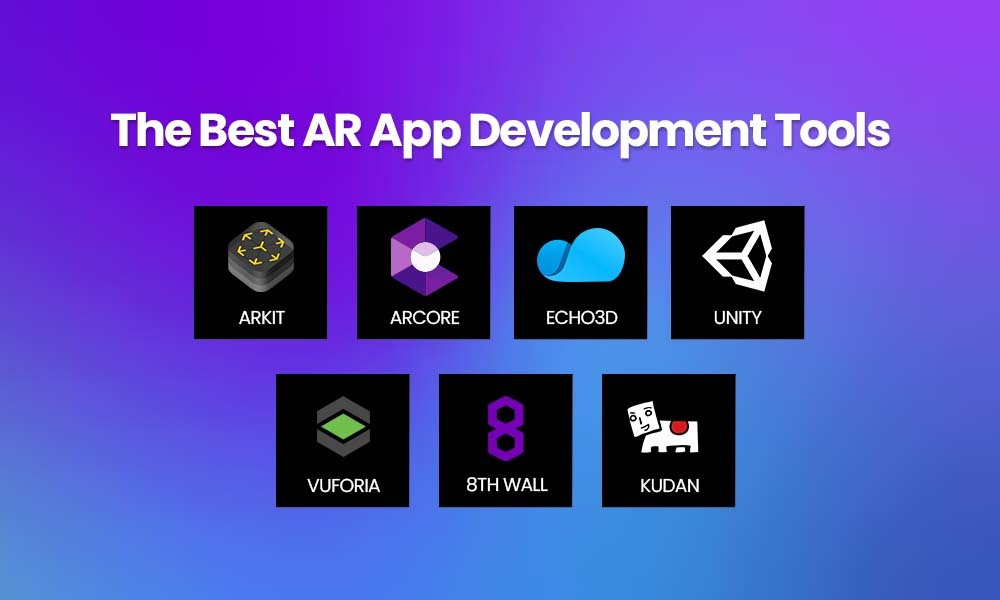
To leverage the full power of the AR tools for AR software development, you need to understand how they work and what each one is capable of. Explore the best Augmented Reality (AR) development tools and align your requirements with a skilled Augmented Reality app development company in USA to use the one that best meets the demands of your project.
-
ARKit
ARKit is the top tool for Apple devices that offers all the tools to build high-quality visuals and integrations for Apple’s ecosystem. It requires an iOS device with an A9 or later processor and iOS 11 or later.
Some of the best features of ARKit include the following:
- Naturally use digital objects in real life.
- Track and follow faces and objects.
- Estimate light movements and collision
- Allow multiple people to share AR experiences.
ARKit works best with Apple’s development tools like Swift and Xcode. Also, there are a lot of guides and videos to help the developers. Moreover, you can get help from the community through forums, blogs, and events.
ARKit is used to build many different things like games, apps, shopping experiences, learning tools, and digital guides. Although using ARKit is free, joining Apple’s developer programs to public the apps has a $99 yearly fee.
-
ARCore
ARCore is from Google, and it works for both Android and iOS, but is best for AR app development for Android in USA. It is compatible with Android version 7.0 or newer and iOS 11 or higher. You can use ARCore to build AR apps for both Android and iOS devices.
Some of the best features of ARCore include the following:
- Track movements and digital objects.
- Guess light movements and improve shadows and highlights.
- Read the room around and help work with digital objects in the real world
- Let people share the same AR spaces.
- Recognize faces and gestures
ARCore works with Android Studio and other tools like Unity. There are a lot of different guides and learning tools available to start working with ARCore. Moreover, the community will help with any and all hurdles that may come along.
ARCore is used for a range of different AR development solutions, 3D data working, and more. Although it is free to use, sharing apps on Google Play requires a one-time fee of $25.
-
Echo3D
Echo3D cloud-based platform to build AR development solutions for web and mobile. It is a wonderful tool to make AR/VR apps for different Android and Apple devices. Plus, you can also use it to build web AR apps.
Some of the best features of ARCore includes the following:
- Real-looking 3D images and objects
- Putting digital objects in real life
- Understand and Track images
- Let people share the same AR space
- Create animations and interactions
- Works with Unity, REST API, and JavaScript.
Echo3D is made for users, businesses, and scalable AR app solutions for startups. It works on the same principle of drag and drop things to create AR projects. Moreover, it offers 3D stuff and scenes, examples, templates, and clear instructions to get you started.
Echo3D has a free version that you can use and try out. The complete features come in the paid plans, for which you have to contact the support for pricing.
-
Unity
Unity is a popular tool to build 3D AR apps and AR app development services for multiple different platforms. Unity is a powerful and flexible platform. You can assemble a team or hire Unity AR app developers to build AR apps for several devices, including Android, iPhones, smartglasses, computers, and even websites.
Some of the amazing features of Unity are as follows:
- Working with 3D objects
- Read flat surfaces and images
- Track users’ looks and moves
- Make digital things appear in the real world
- Make things natural with lighting effects
- Let multiple users share the same AR space
Unity uses C#, and you also get guides, how-to videos, ready 3D models and animations to use, and a large community. You can easily find help online from forums or channels related to AR software development. Unity is the tool of choice for an Augmented Reality app development company building games or integrating the technology in their apps.
Unity is great for a lot of different AR projects, games, informational apps, shopping apps, learning tools, and a lot more. Unity has a free version to start with, whereas paid plans start from $200 a month per seat.
-
Vuforia
Vuforia offers powerful object and image recognition to create interactive experiences. It is used for both Android and iOS devices. It also works well with Unity, making it easy to build for computers too.
Some of the best features of Vuforia include the following:
- Recognize and track objects.
- Work with pictures and 3D models, and read text.
- Make virtual buttons.
- Track objects even when they are out of view.
- Save stuff in cloud storage.
Vuforia is pretty easy to use if you are familiar with Android Studio, Unity, and other such tools. There are lots of guides and examples to get help from. Also, there is a large support community, forums, and tutorials to help you build stunning AR scenes.
Vuforia is great for showing products, building interactive scenes, training programs, games, and much more. Vuforia has a free version to try out, but it sticks watermarks. You will have to contact the team for pricing for the premium and enterprise plans. Cloud image recognition starts from $99 per month.
-
8th Wall
8th Wall is a reliable tool that enables web-based AR development solutions without the need to download apps. You can build AR apps for both Android and iPhones, which can even run on web browsers on phones.
Some of the best features of 8th Wall include:
- Generate 3D objects in real life.
- Read pictures and flat surfaces.
- Use voice and hands to control the app.
- Share stuff with others through cloud storage.
8th wall is pretty easy to use and is compatible with popular tools like Unity and JavaScript. You can find plenty of guides, examples, and help that will make your AR development solutions journey easy. You can use the 8th wall to play games with friends, create ads, try out products, and build training apps.
8th Wall offers both free and paid plans. The free plan is for you to try out the different things, whereas the complete features are available in the paid plans starting at $20 a month.
-
Kudan
Kudan is a great tool for AR software development that works for both Android and iOS devices. It leverages the SLAM technology for accurate mapping and positioning.
Some of the great abilities of Kudan include:
- Draw markers to track images.
- Understand spaces around and show 3D objects.
- Save stuff online
- Allow multiple people to use the app simultaneously.
Kudan is highly user-friendly as it uses simple drag-and-drop mechanics. Furthermore, it offers a bunch of ready-to-use templates, how-to guides, and a huge community to help you along the AR app-building journey.
Kudan has a free version that comes with some limits. The full version is available for $1,300 per app. This is mostly viable for an affordable AR app development company in USA and not really for solo developers or entrepreneurs.
10 Steps To Developing An AR App
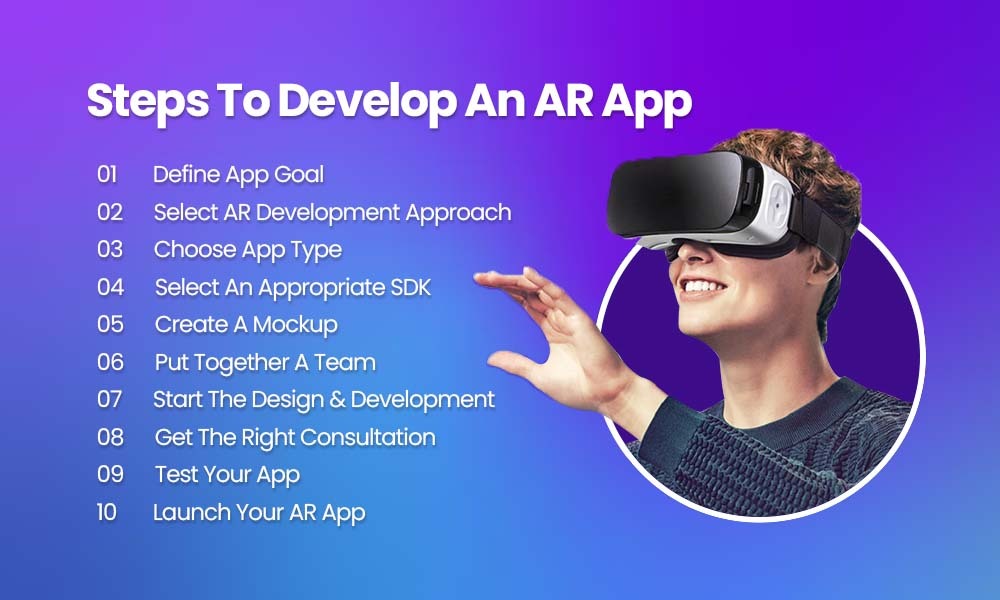
So, you have finally decided to build AR development solutions. Whether you are going for iOS or AR app development for Android in USA, the process is somewhat the same. Here is our comprehensive step-by-step guide to building a custom app through Augmented Reality app development services. We will go over it all from scratch, so, without further ado, let’s get right into it!
1. Define App Goal
The first step to any development project is to define your goals and requirements. Make sure they are detailed and easy to understand for everyone. It must also have the functionality, features, and everything related to your AR app. Here are the things to look into:
Business Plan: A comprehensive wireframe of the overall idea, vision, and endgame that you want to fulfill with your AR software development or custom AR app development in USA.
App Features: The next thing is the set of features you want to integrate into your app. Below are some of the most popular features for an AR app:
- GPS tracking
- Maps integration
- Camera support
- Payment gateways
- 2D and 3D elements
Platform Support: The last thing is to decide which platforms you want your AR app to land on. The different platforms are iOS, Android, Windows, and Web-based.
2. Select AR Development Approach
Once you have everything on paper (or sticky notes), it is time to finalize the AR development services approach that you want to take or hire AR app developers for it. The best AR development solutions approaches are as follows:
Native: Native applications are built for one specific platform with device-specific functionality. They perform much more efficiently. For Apple’s platforms, Swift and Objective-C are the choices, Kotlin and Java are for Android, and C# is for AR software development for Windows.
Cross-Platform: Cross-platform AR apps use third-party SDKs and frameworks to build apps that can run on multiple platforms. It reduces the development cost and time, but may negatively affect the performance and functionality. The common programming languages for cross-platform AR app development include C#, C++, Java, and JavaScript.
Hybrid: Hybrid applications are the least popular. They are web-based apps that install and run on smartphones. However, their functionality and performance are reduced. The different programming languages used for hybrid or custom AR app development in USA include HTML, CSS, and JavaScript.
Web-Based: Web-based AR development solutions can run on any compatible browser as well as work on different devices including smartphones and computers. Still, they are slower than Native apps. The common programming languages for WebAR development services in USA include JavaScript, HTML, Java, TypeScript, CSS, and Python.
3. Choose App Type
The third part of the AR software development process is to pick the type of app you want to build. Each type requires different tools and technologies to achieve the desired result according to the needs and demands. The different types of apps you can build are as follows:
Marker-Based AR: Marker-based AR apps use the on-device camera to read visual cues such as QR codes, images, or patterns, and trigger the virtual objects accordingly. This is great for interactive marketing, gaming, and education, to name a few.
Markerless AR: Also known as location-based or SLAM-based AR, Markerless AR apps use the device’s GPS, accelerometer, and gyroscope to read the environment and place digital content accordingly. The most popular example of such an AR app is Pokémon GO.
Projection-Based AR: Projection-based AR apps allow users to interact with the projection (projecting light or digital content) that is onto real-world surfaces. These work great for interactive displays, immersive experiences, and visualizations.
Superimposition-Based AR: Superimposition-based AR apps replace or enhance the real-world view with digital, interactive, or augmented elements. The most popular one is the IKEA app, which shows you the products in a real-world setting, enhancing the shopping experience.
Location-Based AR: Location-based AR apps also rely on GPS data to show location-specific virtual content. It is mostly ideal for travel and navigation apps, as it can help provide virtual tours, guides, and landmarks information, etc.
4. Select An Appropriate SDK
Software Development Kit or SDK is a set of software tools that help with Augmented Reality application development or custom AR app development in USA. There are several powerful tools to develop AR apps for iOS, Android, and the Web. Sometimes, it gets hard to choose the one that’s right for you.
In order to make a confident decision, you must carefully assess your project goals and tech stack. Also, you need to figure out the platform support, programming language, AR app future, and monetization standards.
5. Create A Mockup
From this point onwards, the real work begins. You must carefully analyze your business needs, brainstorm ideas, and create a mockup of your AR software development. Collaborate with your whole team and create a complete wireframe that is easy to understand for everyone.
Every little detail matters so make sure to pay extra attention at each stage, whether content, UI, or UX. You can collaborate with a professional Augmented Reality app development company to get a specialized opinion on everything.
6. Put Together A Team
Once the final plan and wireframe are ready, gather your team of skilled creators or hire AR app developers for your custom AR app development in USA. Ensure you have the right marketers, developers, writers, designers, and managers on board to get the best results within the available time and budget. In addition, you will also need a QA tester to check for bugs, issues, crashes, or any mistakes.
Once you have the right people with you, it is time to fulfill the basics.
Project Management Tool: You will need a powerful tool to organize and manage your project, so nothing gets lost in the mix. Some popular ones include ClickUp, Monday, and Trello.
Communication Channels: You will need to set up some communication channels to ensure everyone is on board and in touch with each other. Some good tools are Slack and Teams.
Management Approach: You must understand the different software management approaches and choose the one that best fits your project needs and demands.
7. Start The Design & Development
Once your partner Augmented Reality app development company is done with the basics, it is time to move on to the design and development phase. It consists of the following three parts:
The first step is Planning. This is where you gather the designers and developers to go over the details and finalize the UI/UX of your AR application.
The next part is Designing and Coding. The two teams work together to create a high-quality design and develop the architecture using the finalized tools above.
The last part is the Content and Integration. This is where you integrate the library and features according to the needs.
8. Get The Right Consultation
Building AR development solutions is not easy by any means. There are a lot of things that can go wrong. It could be during planning, wireframing, designing, development, marketing, and any other stage. When such a thing happens, the failure of the app becomes inevitable.
In order to ensure everything goes right, it is better to consult an affordable AR app development company in USA or hire AR app developers for your AR app idea. You can discuss and collaborate with the professionals to get the results you want and deserve.
9. Test Your App
Once the project managers finalize the AR app from their end, it is time to test everything. You must send it to the QA department to test every aspect of your AR application. They will use the appropriate techniques to test the project against the whole requirements.
The QA team will ensure that every feature is present, the UI is perfect, the UX is functional, and the whole app runs seamlessly. The team will monitor the application and check everything over several days, and prepare the final report. If there are any problems or issues with the app, this is the part you send back to production to fix them, and repeat the process until the app looks and performs as desired.
10. Launch Your AR App
Finally, the time to launch the application is here. Once the QA approves the app, you can upload it to the app store(s) for inspection and launch.
Make sure to carefully read the App Store Guidelines and Play Store Guidelines put up by Apple and Google respectively, and ensure your app complies with all the requirements. In the case of the Web AR app, you must buy a domain, set up a cloud-based or on-premises server, upload the AR application to it, and finalize with the SSL certificate. Once your app is live, continuously monitor the status, and other things to make sure it is growing healthy.
Cost Of AR App Development
The cost of the large-scale AR development services as well as scalable AR app solutions for startups depends on several factors which you can better understand with the following table.
| App Type | Features Examples | Estimated Price | Use Cases |
| Basic | Simple UI, animations, integrations, and functionalities. | $5000 – $50,000 | Educational apps and basic games. |
| Moderate | Medium-level UI, animations, integrations, and features. | $50,000 – $200,000 | AR Navigation apps, training, and simulations. |
| Complex | High-quality custom UI, animations, integrations, and features. | $200,000 and upwards | AR social apps, games, and healthcare apps. |
If you must know, the location from where you wish to hire AR app developers or the Augmented Reality app development company you go for also affects the pricing. See this table for more context.
| Region | Pricing Per Hour |
| USA | $60 – $150 |
| UK | $40 – $120 |
| Asia | $15 – $80 |
How To Choose The Right AR Development Company USA?

In order to get the right AR app development company as your partner for custom AR app development in USA, use the following step-by-step guide.
1. Define Your Project Requirements
First of all, you must descriptively define your project objectives, target market, and characteristics. This way, you will be able to better relay your thoughts to possible partners.
Make sure to set a reasonable budget and timeline for your project so it does not scare away potential partners as well as not break your brand.
2. Consider Experience and Expertise
The next factor to consider is whether your potential AR app development partner’s team has the required experience and skills to get the job done. Make sure they have strong technical expertise, trends knowledge, the latest software, development tools, and other related aspects.
Also, you must check out the company’s portfolio to understand the level and quality of their work based on the previous Augmented Reality services. You can also try out the applications to test their overall experience and functionality.
3. Check Reviews and Feedback
If you want to fully learn about and understand the company’s reliability and professionalism, it is best to go through the previous clients’ feedback and reviews. There are many notable platforms like Design Rush, Clutch, Wikipedia, etc to hear the most honest feedback of the clients and customers about the Augmented Reality app development company in USA.
Make sure to check the comments regarding communication, skills, problem-solving, applied methodologies, and overall performance. You can also choose to get in touch with the clients to ask them personally about their experience in building AR development solutions.
4. Evaluate Communication and Collaboration
Communication and collaboration should not be compromised whether you have a large-scale project or are going for scalable AR app solutions for startups. It is a major factor to consider before finalizing an AR app development company to fully evaluate the team’s technical support and customer service. This also includes the pre- and post-launch collaboration and maintenance services provided by the company.
For more clarity, check the warranty conditions and service level agreements (SLA). A strong level of both ensures you will get timely and high-quality assistance for any kind of AR software development.
5. Compare Cost and Pricing
Before finalizing, compare the service prices of all the companies you have shortlisted. Compare the estimates you have received based on your AR app development project, deliverables, communication, and level of services.
Ensure you are getting the best bang for your buck. Each company has different benefits, but you should never compromise the quality and efficiency of the work.
Final Takeaway
Choosing the best AR development company USA for your project is not a tough task. You must understand the full potential of the companies in the market. The benefits vary and service packages differ, from cost efficiency to the available technology, and most of all, customer connection and workflows.
Make sure to fully learn about the AR development solutions, the development technologies, and the cost. Then, consider all the points we have mentioned above to choose the best company for your specific project. Stepping into the world of reliable Augmented Reality app development services can prove to be a fruitful decision for the present and the future, but only if you partner with one of the best AR app development companies in USA.